 |
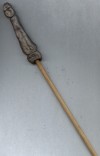
The First Try was a Flop
The instructions on the Sculpy package said to "bake for 10-20 minutes
in oven at 275 degrees F."
So I did. The wand's handle felt soft after I pulled it out of the oven
after 20 minutes... and I thought, "darn, needs a few more minutes",
turned the oven back on, put the wand in the oven, and did some email.
Twenty minutes later I smelled something like a combo of hot wood and
plastic coming from the kitchen. It turns out I mistakenly put the oven
back on at 375 degrees F. Oops. Sculpy does NOT like high temperatures.
The sculpy turned black and puffed up, then collapsed after cooling -
it looked like a blasted, ugly cinder. It stank, too. My prototype wand
ended up looking like it belonged to someone who fought evil Lord Voldemort
and lost.
The moral of the story? Pay attention to the oven temperature and don't
overbake.
|
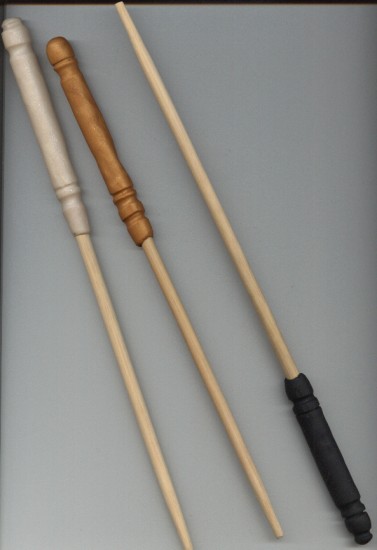
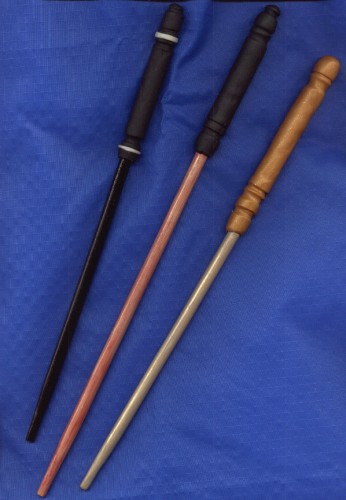 Here's
my attempt to reproduce at home (and fairly cheaply) the style of wands sold
by the worthy Master Ollivander. There are a few sites out there where you can
buy lovely wands of exotic woods with turned handles. They look great. They
are also a tad expensive for me. So I took a try at creating my own. Instructions
below.
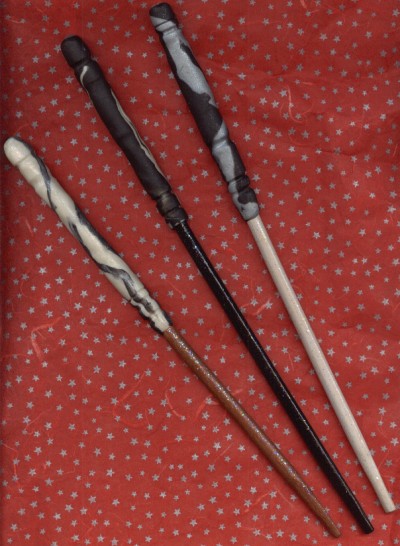
Here's
my attempt to reproduce at home (and fairly cheaply) the style of wands sold
by the worthy Master Ollivander. There are a few sites out there where you can
buy lovely wands of exotic woods with turned handles. They look great. They
are also a tad expensive for me. So I took a try at creating my own. Instructions
below.